Arkona's Shapedchords are a ready-to-use, light cured, pre-formed polyaramide fibres for tooth stabilisation.
The fibres do not need to be silanised and are not light-sensitive and have a ready-made dental arch shape (external or internal side), which significantly reduces treatment time.
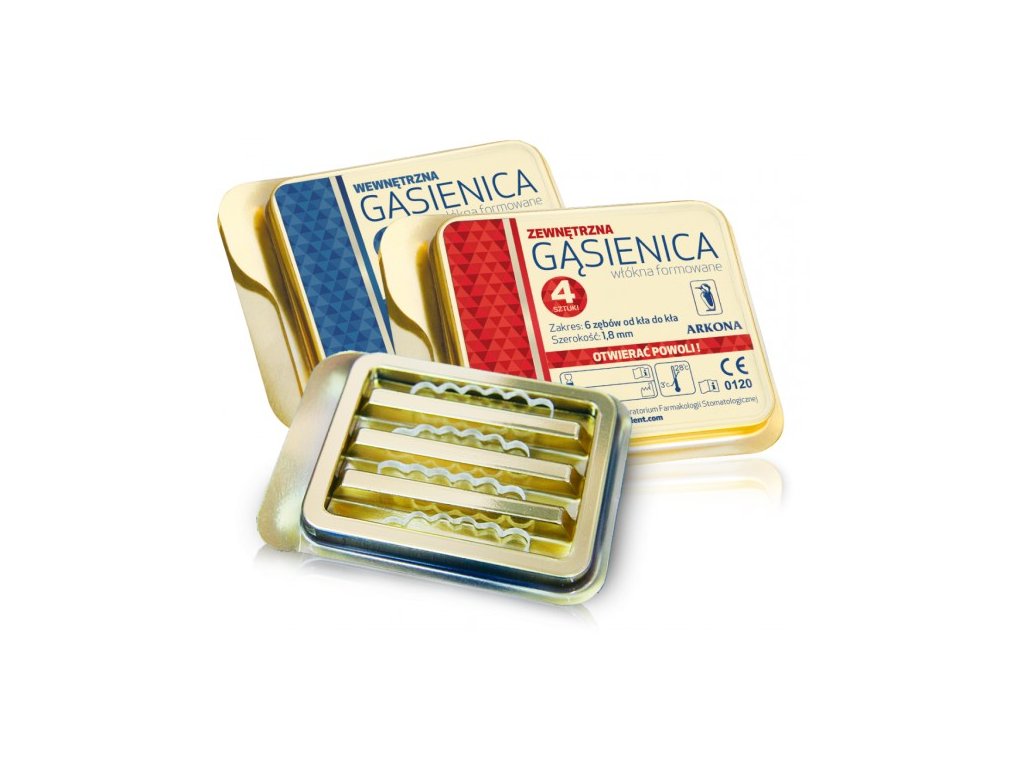
The fibres are available in two types: external and internal, packaged in 2 pieces or 4 pieces.
Width: 1,8 mm.
Packages:
1 x 2 pcs.
1 x 4 pcs.
| Category: | Reinforcement |
|---|


Properties:
- composition: polyaramide fibres (75% by weight) impregnated with a mixture of methacrylate resins (Bis-GMA, Bis-EMA, TEGDMA), pre-formed.
- stabilisation of teeth loosened in the course of periodontal disease.
- stabilisation of teeth temporarily after trauma.
- consolidation of orthodontic treatment results.
- maintenance of interdental spaces before and during orthodontic treatment.
- fabrication of adhesive splints using the patient's own tooth or composite tooth modelling.
- finished shape of the dental arch.
- internal and external moulded fibres.
- significantly reduces treatment time.
- do not require silanisation.
- are not light-sensitive.
- stronger than glass fibres
- flexible after polymerisation
- not very sensitive to accidental polymerisation
- no harmful filings
- range: 6 teeth from canine to canine
- width: 1.8 mm external/internal
- class IIa medical device
Additional information:
- the product is ready for use immediately after removal from the packaging. No activation required.
- the product is fully polymerised and is not sensitive to daylight.
- to avoid contamination, use only tools to handle the fibre. Try not to touch the fibre with your fingers.

- always cover the fibre thoroughly with composite.
- always use a cofferdam to ensure a dry treatment area.
- always instruct the patient on the correct technique for cleaning the splinted area and prophylaxis.
- ensuring proper hygiene is essential to achieve adequate splint life.
Directions for use:
1. Clean teeth of stagnant supragingival and subgingival deposits. Postpone stabilisation treatment in case of heavy bleeding.
2. Select teeth to be stabilised - all removable teeth and at least one stable adjacent tooth in the arch (Fig. 1).

3. Select the side of the dental arch to be splinted. Select the correct shape and type of moulded fibre for the surfaces of the teeth to be stabilised, taking into account future oral hygiene and gingival papillae. (Fig. 2).

4. A cofferdam is recommended to isolate the treatment area from saliva and debris.
5. Surfaces to be stabilised dry, etch (Fig. 3), coat with bonding system (Fig. 4) and polymerise. The fibre can be used with any standard light-curing composites and bonding systems.

6. Carefully open the package and use tweezers to remove the fibre from the package. If necessary, cut off the appropriate length of fibre with sharp scissors.
7. Initially stabilise the teeth with a small amount of composite, taking care not to restrict the treatment area or disturb the occlusion.
8. Start fibre fixation in the area of the largest interdental spaces and/or at the site of greatest tooth migration. In other cases, the best place to start splinting is in the centre of the future splint.
9. Cover the lingual/palatal/vestibular surfaces and interdental spaces with a thin layer of composite (do not use opaque colours) (Fig. 5). Do not polymerise.

10. Place the moulded fibre on the surface of the first tooth covered with the composite. Holding the moulded fibre in the correct position, ensure that no air bubbles have formed between the fibre/composite/teeth. Polymerise each 5 mm of the splint in stages according to the manufacturer's instructions. (Fig. 6).

11. Repeat steps 8-10 on subsequent stabilised teeth, covering the teeth with the composite from the first to the next interdental surface. (Fig. 7).

12. Cover the entire structure with light-curing composite. (Fig. 8) To ensure easy light penetration and full polymerisation of the restoration, the total thickness of the composite layers and fibre should not exceed 2 mm.
13. Cure, finish and polish. Remove the cofferdam and check the occlusion.


