Silgips is a modern silicone compound with an adhesion mechanism (A-silicone), based on polysiloxanes with free vinyl groups.
It is used for rapid, reproducible and gypsum-free fabrication of prosthetic models.
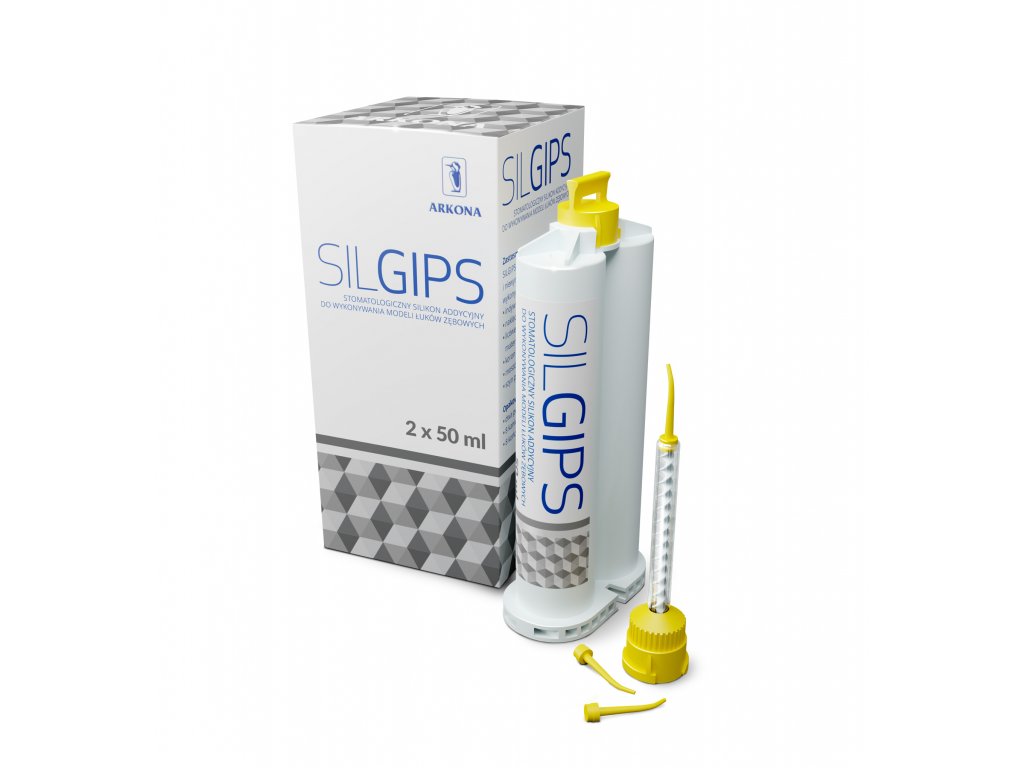
The package contains two double cartridges (2 x 50 ml), 8 mixing cannulas and 8 mixing tips.
Packages:
2 x 50 ml
| Category: | A-silicones |
|---|
Properties:
- the setting process of Silgips takes place without the release of by-products, so that shrinkage of the mass is minimal and the reproduction of details is extremely accurate.
- is used to make prosthetic models
- individual root-crown inlays
- inlays and onlays
- veneers based on light-curing composite materials
- crowns and endocrowns
- bridges
- intermediate splints
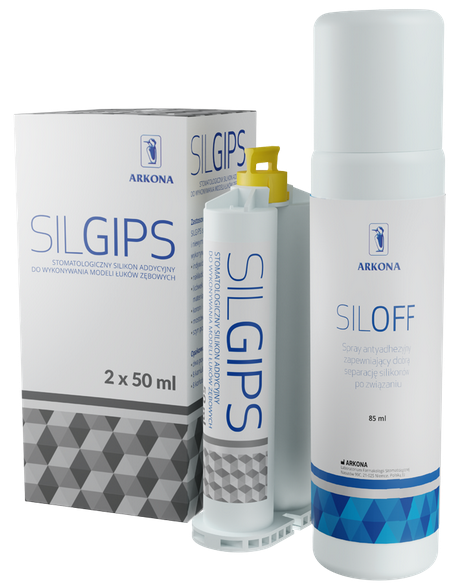
- for use with Siloff spray:
Preparation of the impression:
1. Take a two-layer (precision) silicone impression of the dental arch containing the area to be prosthetic.
2. Rinse, clean and thoroughly dry the impression.
Caution: moisture or dirt on the impression may result in inaccurate reproduction of oral conditions and subsequent disruption of the Silgips setting process.
3. Cover the impression with a thin layer of insulator.
Preparation of the Silgips model:
1. Place the cartridge in the mixing gun. Caution: always follow the manufacturer's instructions for safe and correct positioning of the cartridge in the mixing gun. All necessary information on the operation of the respective device can be found in the detailed instructions supplied by the respective manufacturer.
2. Place the mixing cannula on the cartridge and rotate it until it locks into place.
3. Fix the tip onto the mixing cannula so that the narrower opening of the tip faces downwards. The use of the tip is optional, but offers the possibility to make a very precise model by guiding the Silgips product into the finest details of the impression.
Note: Before first use, it is necessary to equalise the filling level of both components. To do this, approximately 2 cm of material should be extruded and discarded. When using the cartridge with different cannulas, extrusion and ejection of a small amount of material should take place after each cannula change.
4. Fill the cleaned and dried impression with Silgips material, starting at one end of the impression. The impression should be filled to a level that reaches slightly above the edge of the impression spoon. This will enable the base of the model to be made. The time taken to completely fill the impression should not be longer than 15 seconds (working time at room temperature 22°C). Higher temperatures shorten and lower temperatures lengthen the working time with the material. Note: In order to avoid air bubbles in the model, Silgips should be applied by moving the tip slowly along the impression, in the deepest part of the impression, while keeping the tip immersed in the extrudate.
5. After filling the impression with Silgips, invert the impression and place the impression on a flat surface (e.g. a mixing pad).
6. After approx. 2 minutes, release the finished model from the impression (working time at room temperature 22°C). Higher temperatures shorten and lower temperatures lengthen the setting time of the material.